Setting-up your dev environment
Development environment
If you want to make changes to the code, it is recommended you use our pre-configured development container, which contains all the dependencies you need to run and use blindai.
Firstly, in order to be able to run tests with the server, you'll need to work on an SGX2-ready machine. To find out more about how to do this, check out our installation page.
Now you're ready to set up your development environment!
- If you are working on the Azure DCsv3 VM, click here**
- If you are working on your local machine, click here here**
Standard dev environment
To set up our pre-configured development container, you can follow these instructions:
-
Clone blindai github repo and submodules.
-
Make sure you have docker installed on your machine.
- If you need to install Docker, you can follow the official Docker installation instructions.
You also need to make sure you haver the correct permissions to run docker commands without sudo.
To check this, try running docker run hello-world. If this works, you can skip straight to the next step. If it doesn't, you need to add yourself to docker group:
blindai folder in VSCode.
-
Make sure you have the
remote container VSCode extensioninstalled. If you don't, install this from the VSCode extensions marketplace. -
Open the green menu at the bottom-left of Visual Studio Code.
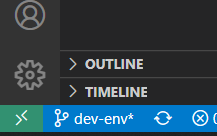
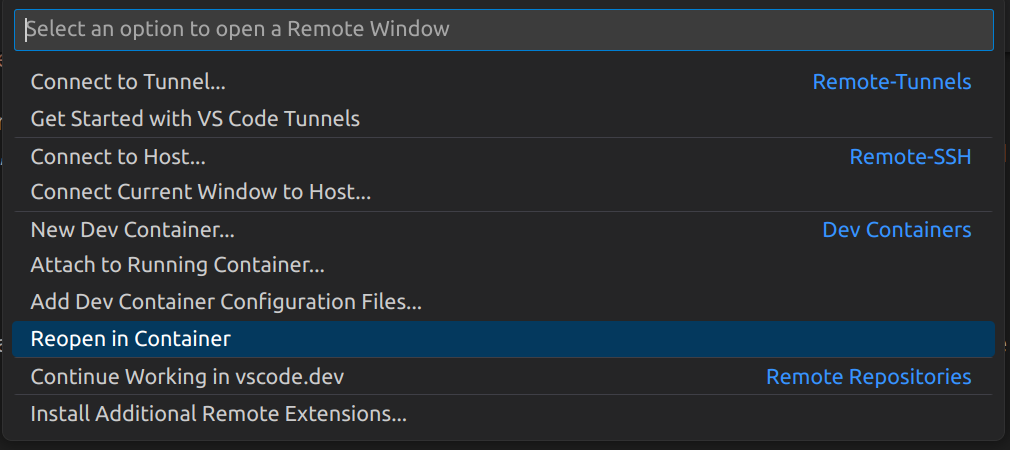
Choose: Dev Containers: Reopen in Container.
This may take some time since there are several dependencies that must be installed.
If you have any issues with this process, make sure you have the BlindAI folder open in your VSCode window.
Building client from source
To compile the client code locally:
Building server from source
You can build and run the server from source using the justfile:
Make sure you are in the root of the blindai directory to make use of the justfile commands.
Note that by default the port opened in 9923 is running on http only. For production, we strongly recommend setting up a reverse-proxy that will manage and encrypt the traffic from the client to the blindAI server. Many free reverse-proxy implementations exist, such as caddy, Nginx and Apache:
- https://caddyserver.com/docs/quick-starts/reverse-proxy
- Nginx reverse proxy set-up guide
- Apache reverse proxy set-up guide
If you do not set up a reverse proxy, users will need to set the hazmat_http_on_untrusted_port option to True when using blindai's connect() function. Again, this is not recommended for production.
Note that if you make any changes to the server code, a new
manifest.tomlfile will be created when you build the server. In order to be able to connect with the server instance using the BlindAI Coreconnect()method, you will need to supply a path to a copy of this file in thehazmat_manifest_pathoption. The manifest.toml files are used during the verification step of the connection progress to check that the server is not running any unexpected and potentially malicious code. You can learn more about this verification process here.
Azure dev environment
To set up our pre-configured development container for your Azure VM, you can follow these instructions:
-
Clone blindai github repo and submodules.
-
Make sure you have docker installed on your machine.
- If you need to install Docker, you can follow the official Docker installation instructions.
You also need to make sure you haver the correct permissions to run docker commands without sudo.
To check this, try running docker run hello-world. If this works, you can skip straight to the next step. If it doesn't, you need to add yourself to docker group:
blindai folder in VSCode.
-
Make sure you have the
remote container VSCode extensioninstalled. If you don't, install this from the VSCode extensions marketplace. -
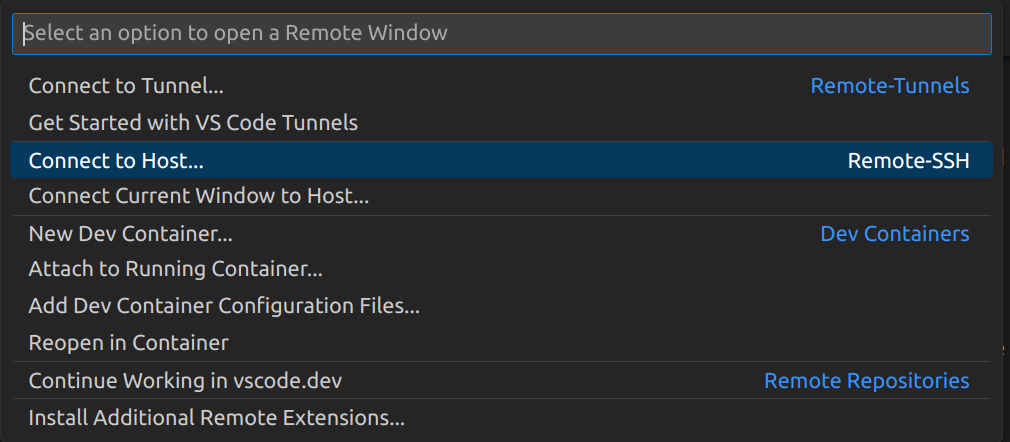
Make sure you are connected to your VM as host. To do this, open the green menu at the bottom-left of Visual Studio Code.
Choose: Connect to host and select your host.
- Next, open the green menu at the bottom-left of Visual Studio Code again and choose:
Dev Containers: Reopen in Container.
This may take some time since there are several dependencies that must be installed.
If you have any issues with this process, make sure you have the BlindAI folder open in your VSCode window.
Building client from source
To compile the client code locally:
Building server from source
You can build and run the server from source using the justfile:
Make sure you are in the root of the blindai directory to make use of the justfile commands.
Note that by default the port opened in 9923 is running on http only. For production, we strongly recommend setting up a reverse-proxy that will manage and encrypt the traffic from the client to the blindAI server. Many free reverse-proxy implementations exist, such as caddy, Nginx and Apache:
- https://caddyserver.com/docs/quick-starts/reverse-proxy
- Nginx reverse proxy set-up guide
- Apache reverse proxy set-up guide
If you do not set up a reverse proxy, users will need to set the hazmat_http_on_untrusted_port option to True when using blindai's connect() function. Again, this is not recommended for production.
Note that if you make any changes to the server code, a new
manifest.tomlfile will be created when you build the server. In order to be able to connect with this server instance using the BlindAI Coreconnect()method, you will need to supply a path to a copy of this file in thehazmat_manifest_pathoption. The manifest.toml files are used during the verification step of the connection progress to check that the server is not running any unexpected and potentially malicious code. You can learn more about this verification process here.